Step 1. Install Clickpost <> Shopify App
Clickpost will share your production login credentials.
Log in to your Shopify account and open the Clickpost App URL:
ClickPost Order Tracking - Shopify App StoreClick Install.
Confirm installation on your Shopify store.
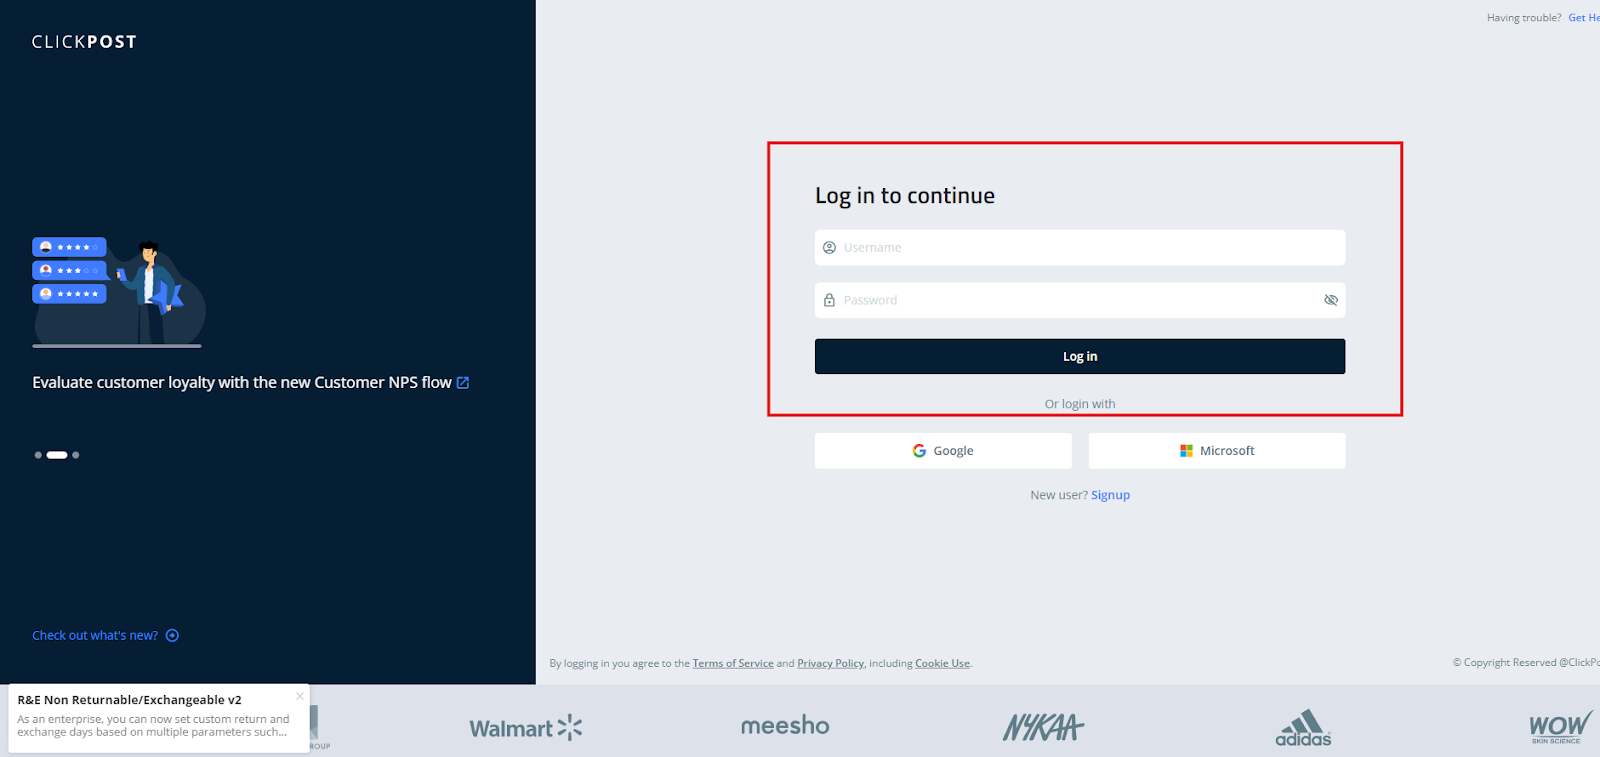
You will be redirected to the Clickpost login page. Log in using the credentials provided by Clickpost.
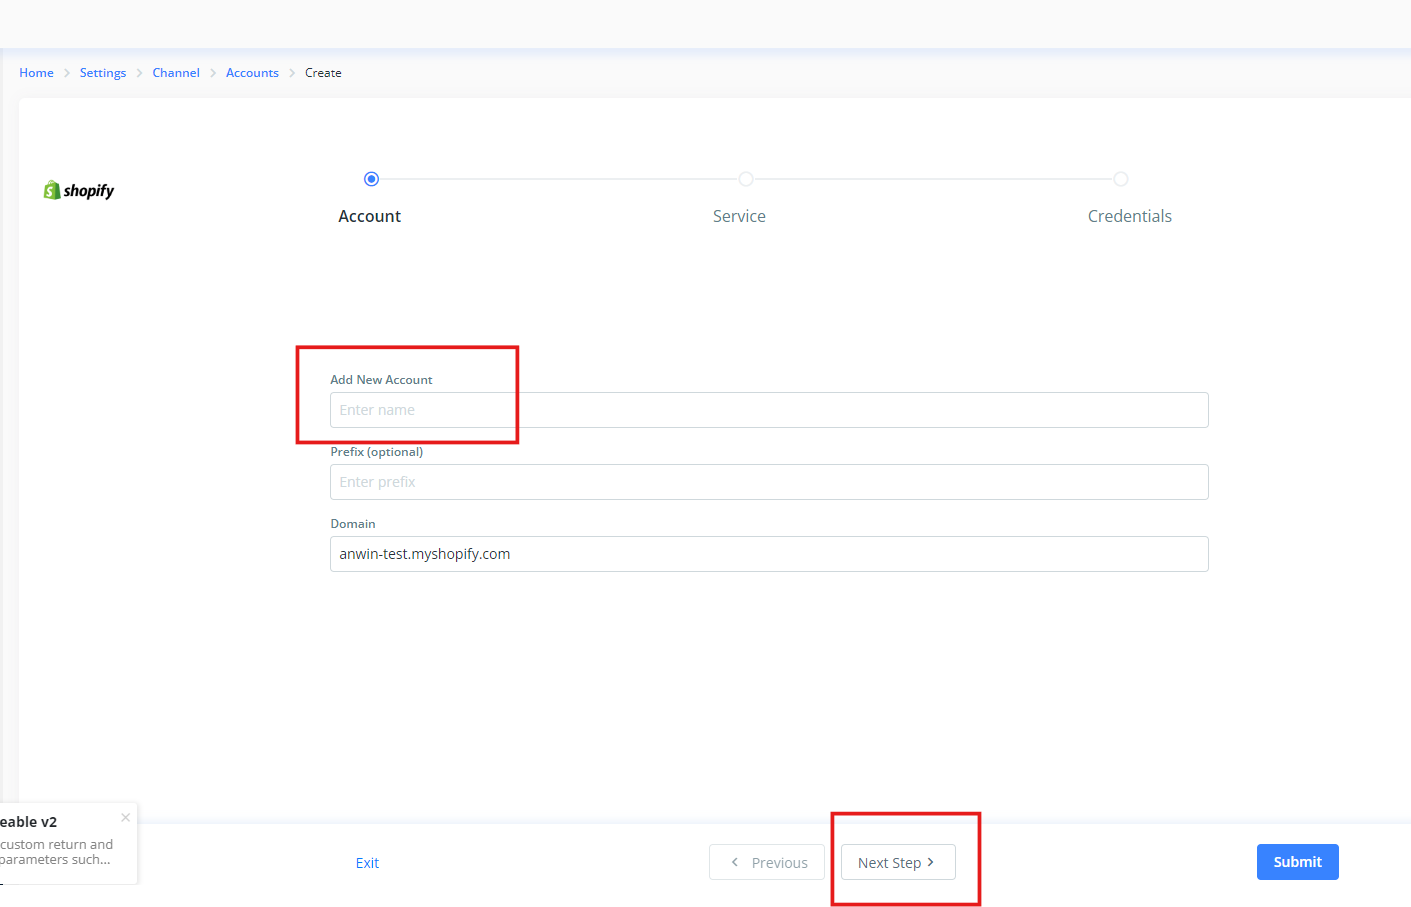
After login, you’ll be redirected to the setup page. Enter your preferred Account Name and click Next.
Select Manifestation and click Submit.


Your Shopify account is now connected to Clickpost.
Step 2. Configure Warehouses
To add and map warehouse between Shopify and Clickpost, follow the steps below:
1. Add Warehouse in Clickpost
Refer to the detailed guide here: How to Add a Warehouse on Clickpost Dashboard
(Please Note: Shopify Pre-Dispatch Integration works only in case of a Single Warehouse.)
2. Get Warehouse (Location) ID from Shopify
- In your Shopify Admin Panel, go to Settings → Locations.
- Select the warehouse you wish to map.

Copy the numeric Warehouse Code from the URL.
For detailed instructions, check this guide:
How to Find Location ID in Shopify
3. Map Shopify Location ID on Clickpost
Use the following guide to complete the mapping:
How to Map Shopify Location ID on Clickpost
Step 3. Courier Partner Setup
After completing the installation and warehouse mapping, the next step is to configure your Courier Partners in the Clickpost Dashboard.
Each courier account must be added and configured for order processing.
To add a courier partner, follow the steps mentioned below:
Add New Carrier Partner Account on Clickpost
Step 4. Configure Recommendation Rules
Recommendation Rules determine which courier partner will be selected for each order.
It is important to set these up for seamless dispatch operations.
Refer to this guide for detailed steps:
How to Set Up Recommendation Rules
Step 5. Order Flow in Clickpost Dashboard
Once the courier setup and recommendation rules are configured, orders from Shopify will start flowing into the Clickpost Dashboard.
You can view them under Dispatch → Orders.
Here’s a quick overview of the sections within Dispatch:
| Section | Description |
|---|---|
| New | Displays newly received orders. |
| Fulfillments | Orders to be processed (includes Recommendation + Order Creation). |
| AWB Generated | Shows orders for which Air Waybills have been generated. |
| Ready to Ship | Orders ready for label download and shipment. |
| Shipped | Displays orders where pickup has been completed. |
| On Hold | Orders placed on hold manually. |
Important Note: Orders in the Dispatch section must be processed manually.
Your orders will begin syncing automatically, and you can start processing shipments from the Clickpost Dashboard.
Was this article helpful?
That’s Great!
Thank you for your feedback
Sorry! We couldn't be helpful
Thank you for your feedback
Feedback sent
We appreciate your effort and will try to fix the article
