Please click on the below link to install the EDD APP on your Shopify account.

Steps to complete on Shopify:
Install EDD app :
 Estimated Delivery Date ‑ CP - Reliable and accurate order delivery dates powered by data | Shopify App Store
 Enter API credentials, pickup warehouse pincode, standard O2S time and cutoff time so that EDD and serviceability APIs can be called.

You can add product/collection/vendor config to add buffers in EDD SKU-wise or collection-wise. All configs are added up before serving to the customer

Go to “Sales channel” >>”Online Stores”>>”Themes”>>”Customize” to add EDD block on Shopify
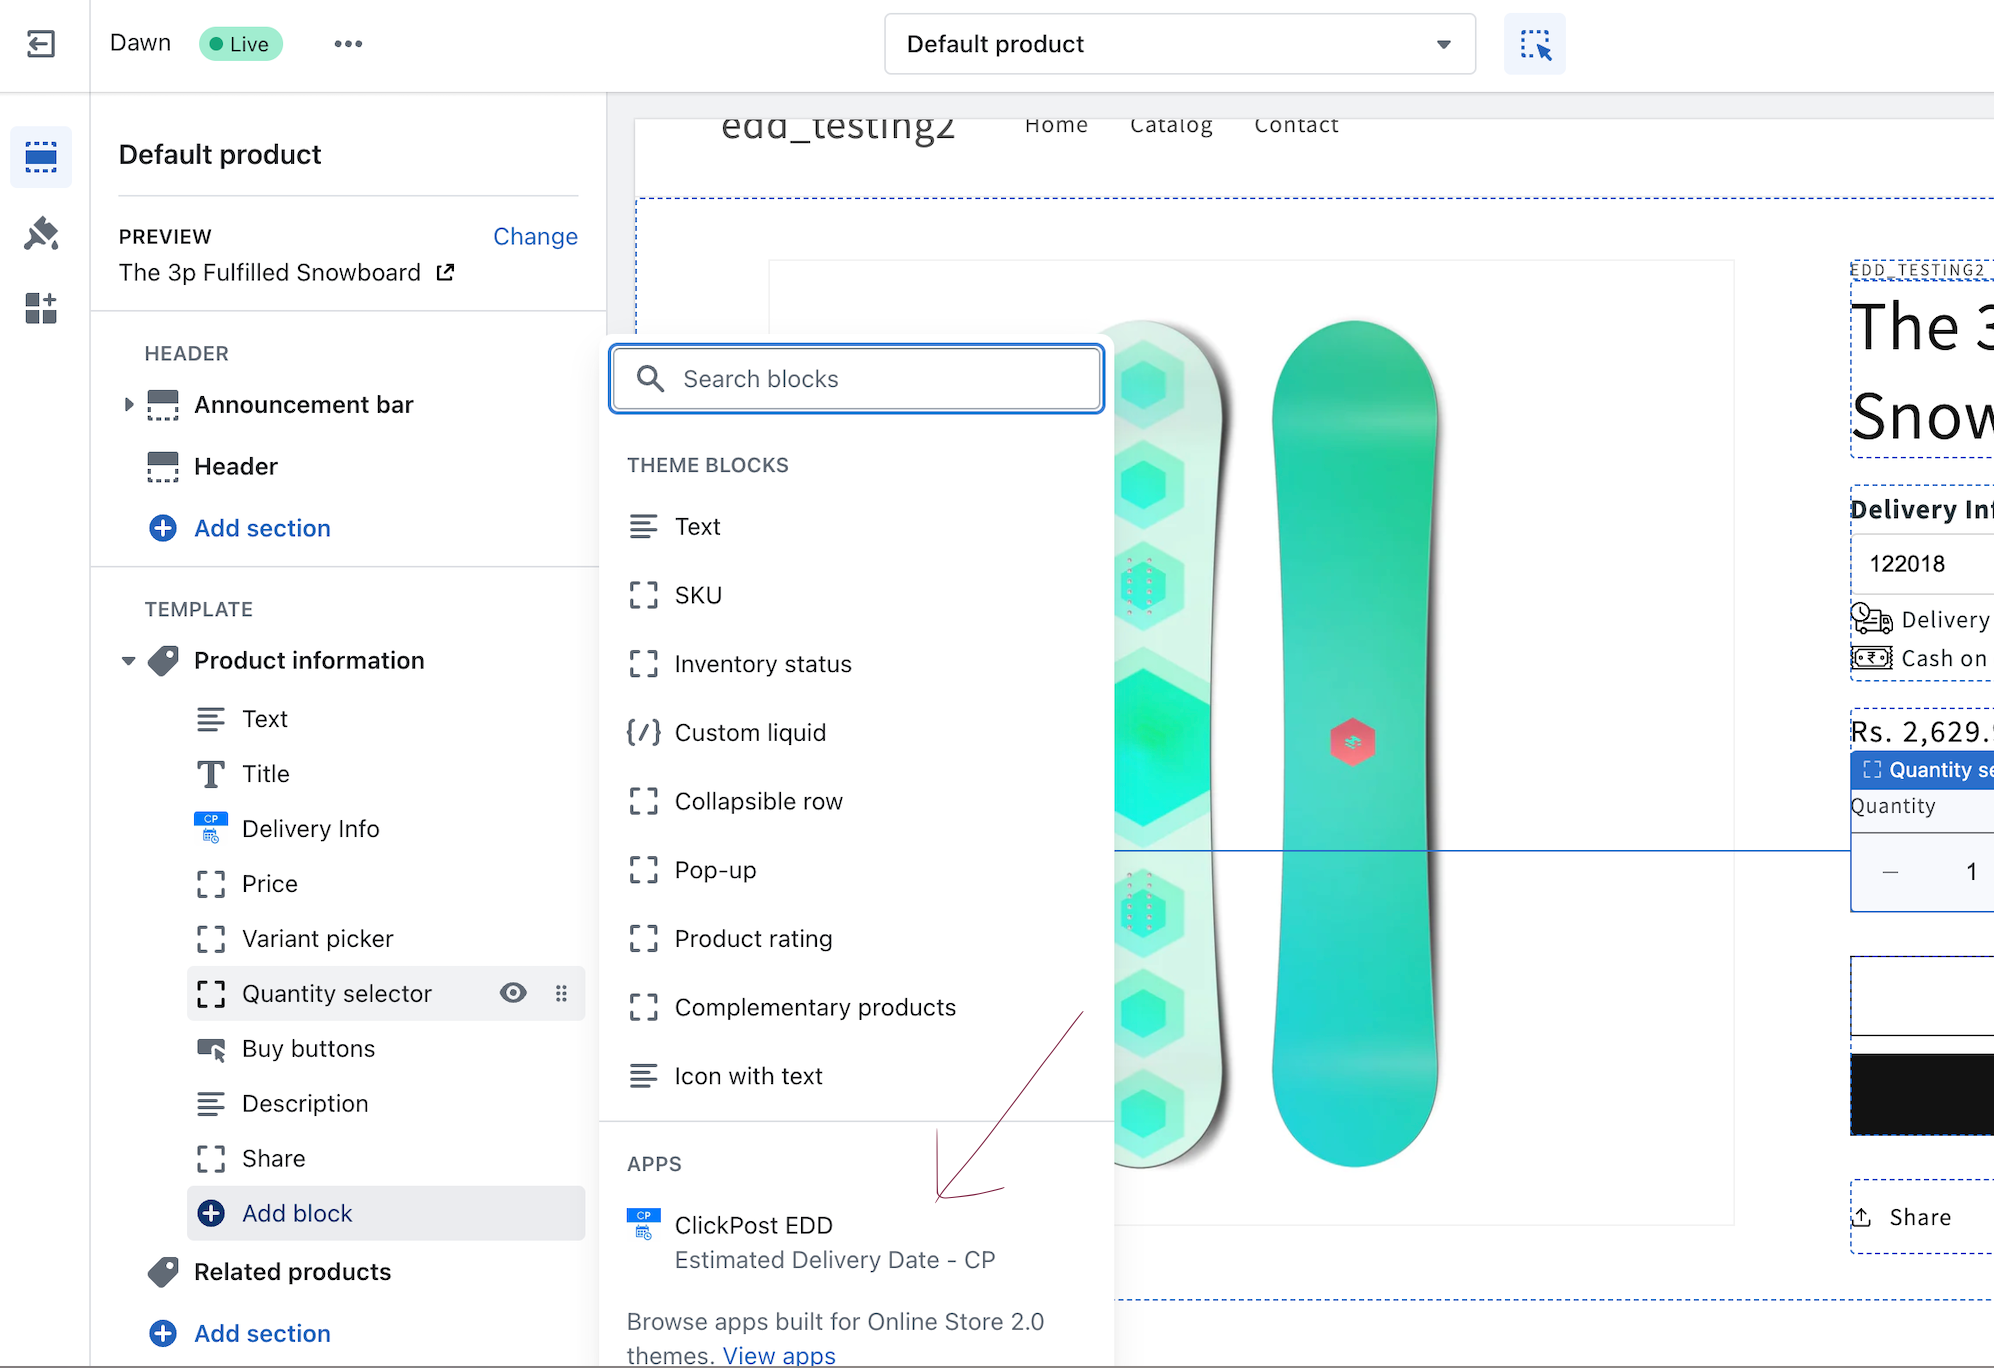
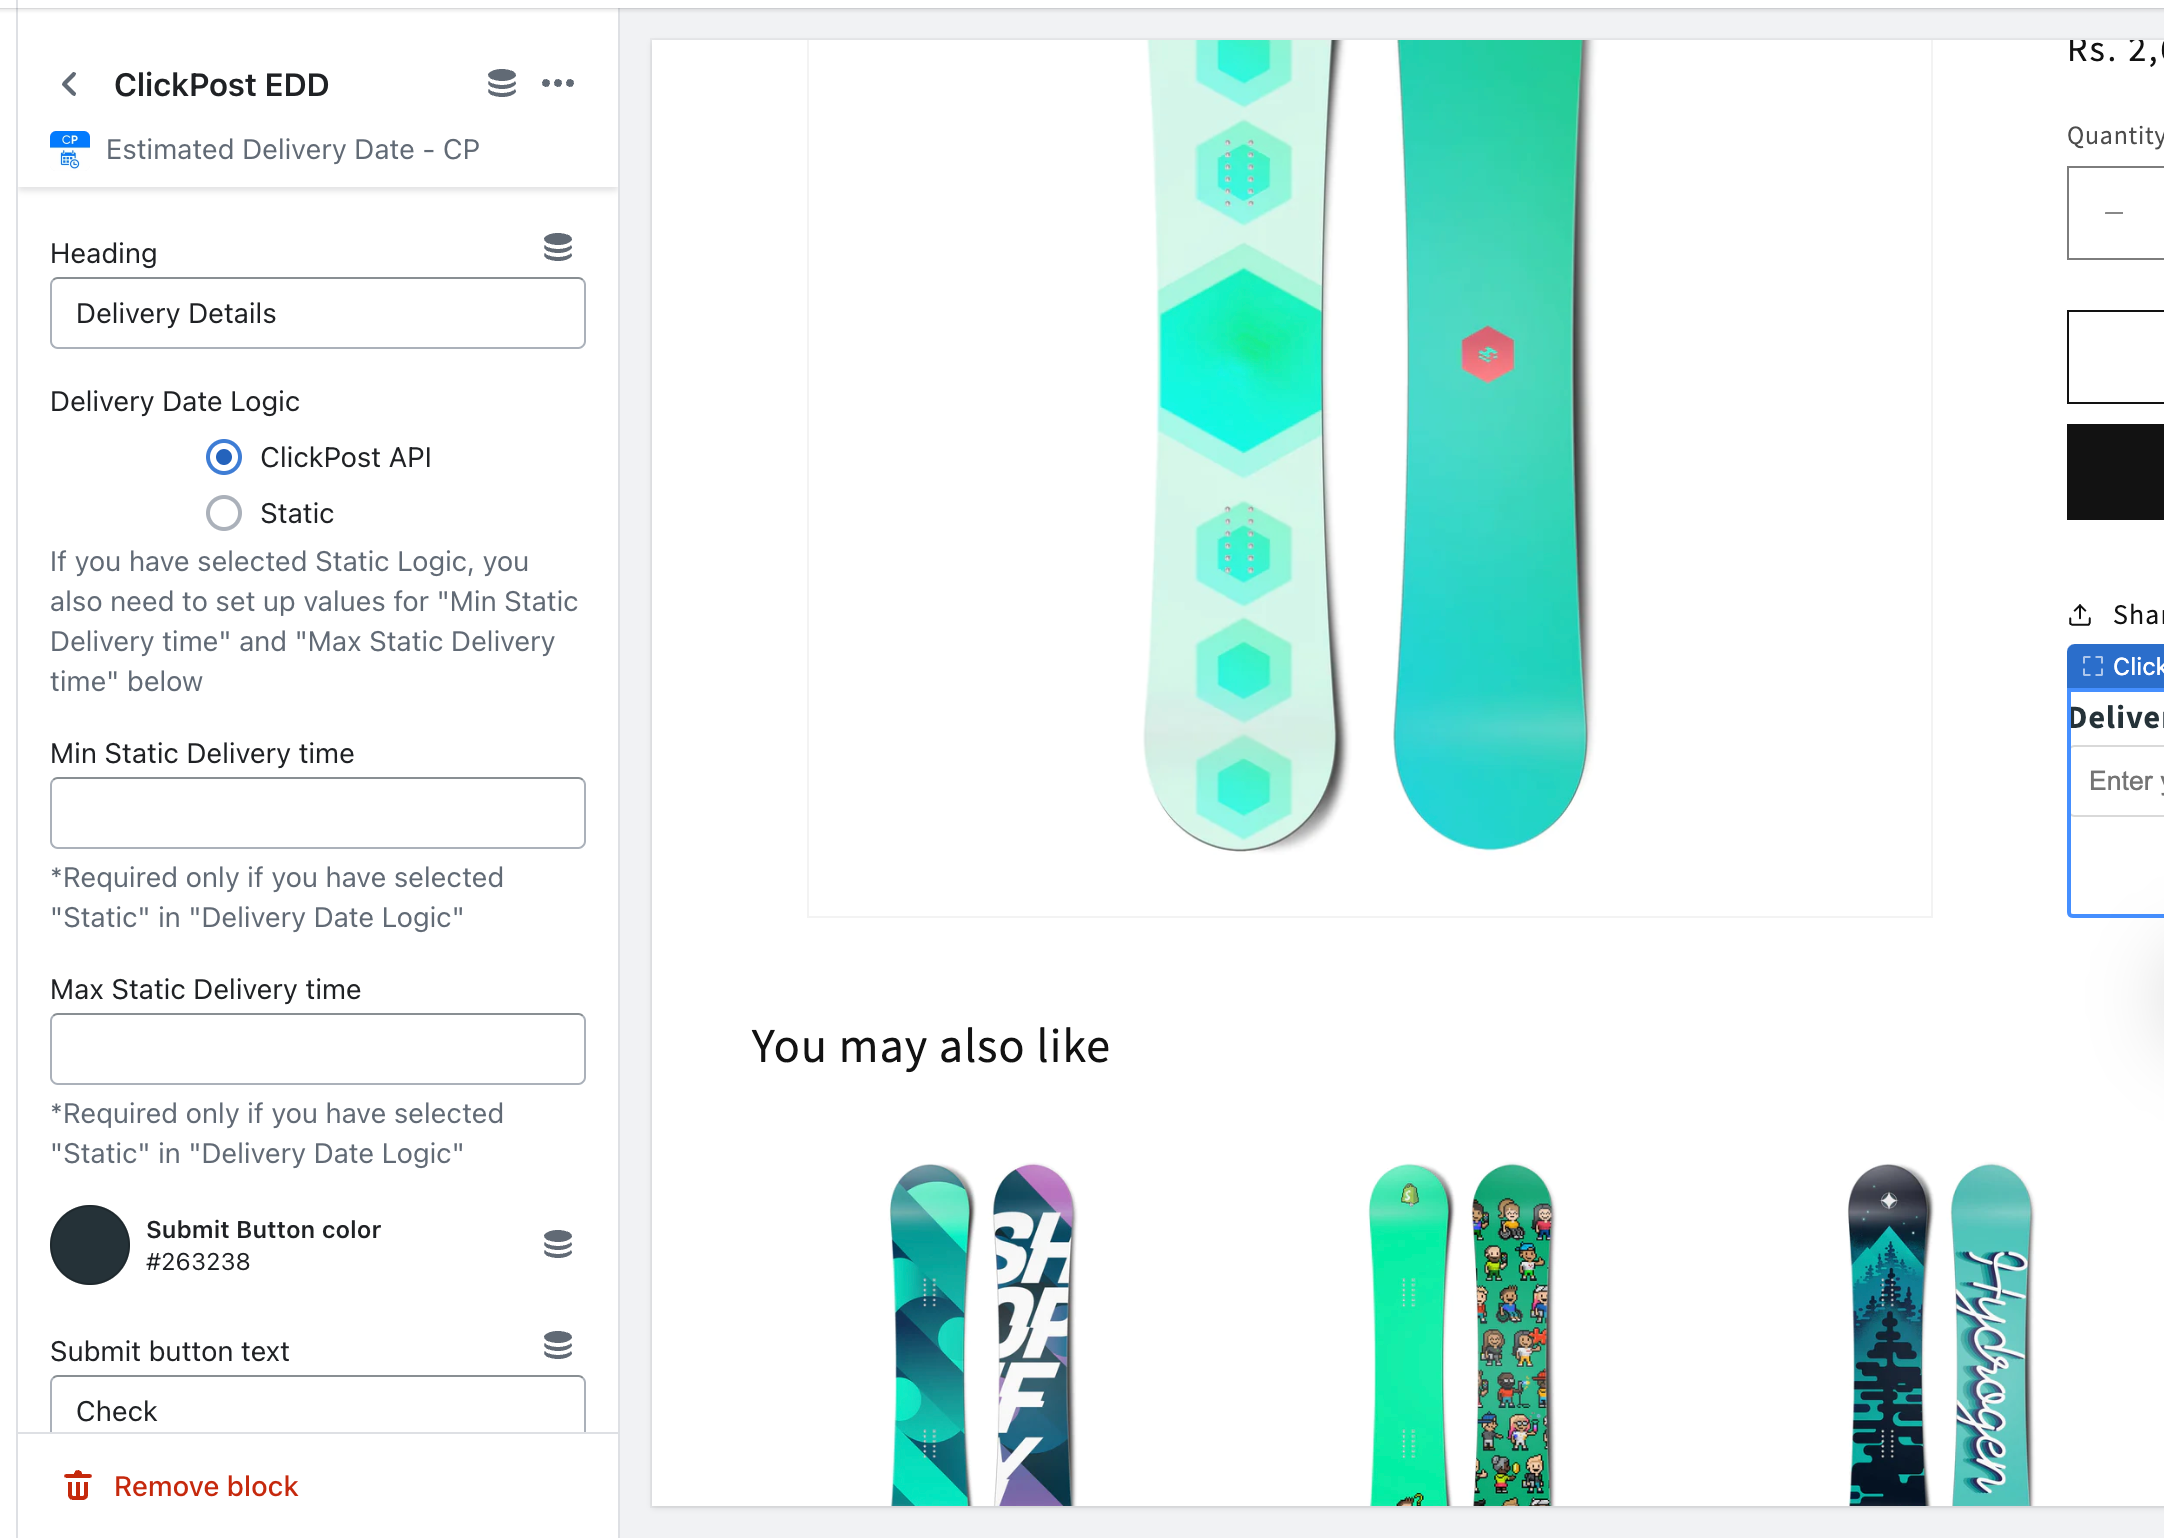
5. You can customize look and feel, content etc of the widget with the config options.


Important note:
If you have multiple warehouses and those warehouses are added on Shopify then, we have introduced a checkbox to enable multi FC logic (refer screenshot). This will pickup all locations added in the Shopify store, filter for those where inventory is present for the relevant product and return the minimum EDD among all the relevant FCs to display it to the user.

Additional changes in design:
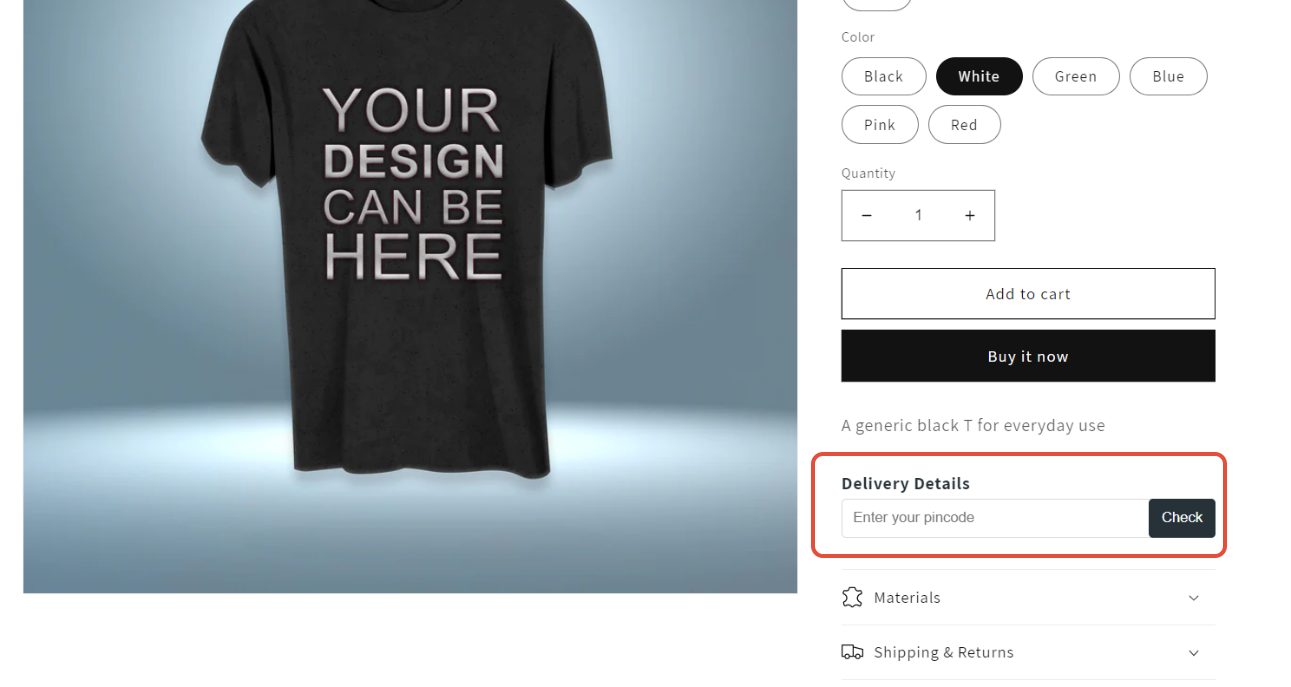
The below design is the standard design that we offer with our EDD app.
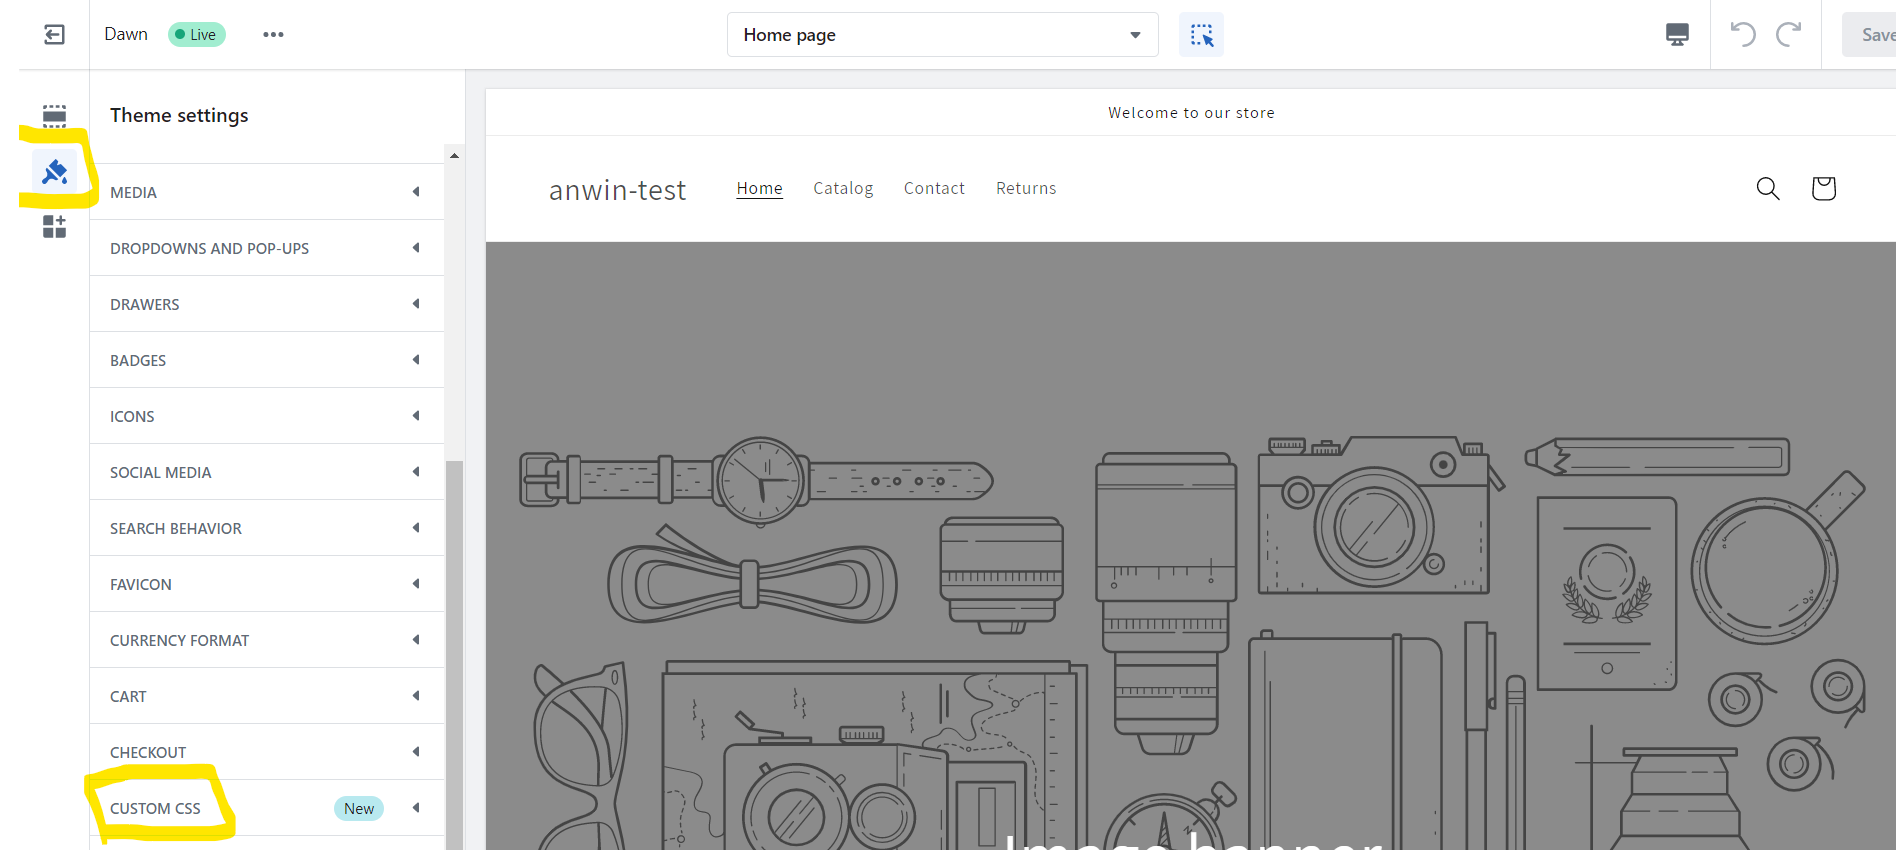
If the you want to make any customization in the design then they can add HTML code in the Custom CSS option
Please find one sample design and code that you can add on your Shopify page

CSS/HTML Code
.clickpost-edd__container { padding: 15px; background-color: #f3f1ee; border-radius: 11px; } .clickpost-edd__submit-button { position: relative; margin-left: 7px; border-radius: 10px; width: 100%; } .clickpost-edd__drop_pincode-input { border-radius: 10px; } #response-success span { margin-top: 15px !important; }
Steps on Clickpost dashboard
You need to upload SLA and serviceability for the courier partner accounts on Clickpost dashboard
Go to EDD section in the settings and enable EDD service

Post which click on “configure” to set the priority for EDD calculation
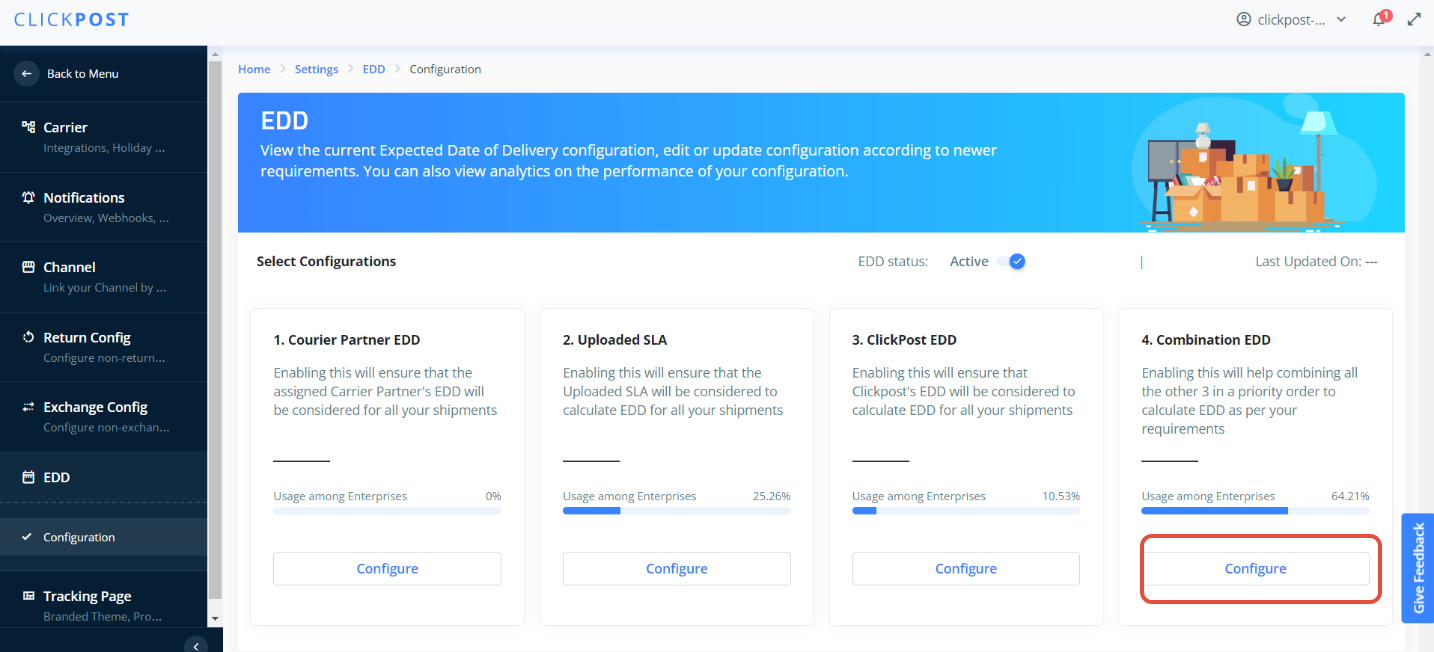
Drag & Drop to set the priority

Click on Submit to complete the setup for EDD.
Was this article helpful?
That’s Great!
Thank you for your feedback
Sorry! We couldn't be helpful
Thank you for your feedback
Feedback sent
We appreciate your effort and will try to fix the article
