To include custom (enterprise) fields in the shipping label, follow the steps below:
Step 1: Pass Custom Fields in the Order Creation API
You need to pass the custom fields in the user_defined_field_array parameter within the order creation payload.
You can refer to the API documentation for detailed guidance:
https://docs.clickpost.ai/reference/order-creation-for-india-only-v3
Step 2: Map Custom Fields to the Shipping Label
Once you start sending values in the user_defined_field_array, these fields can be mapped and displayed on the shipping label using the HTML template.
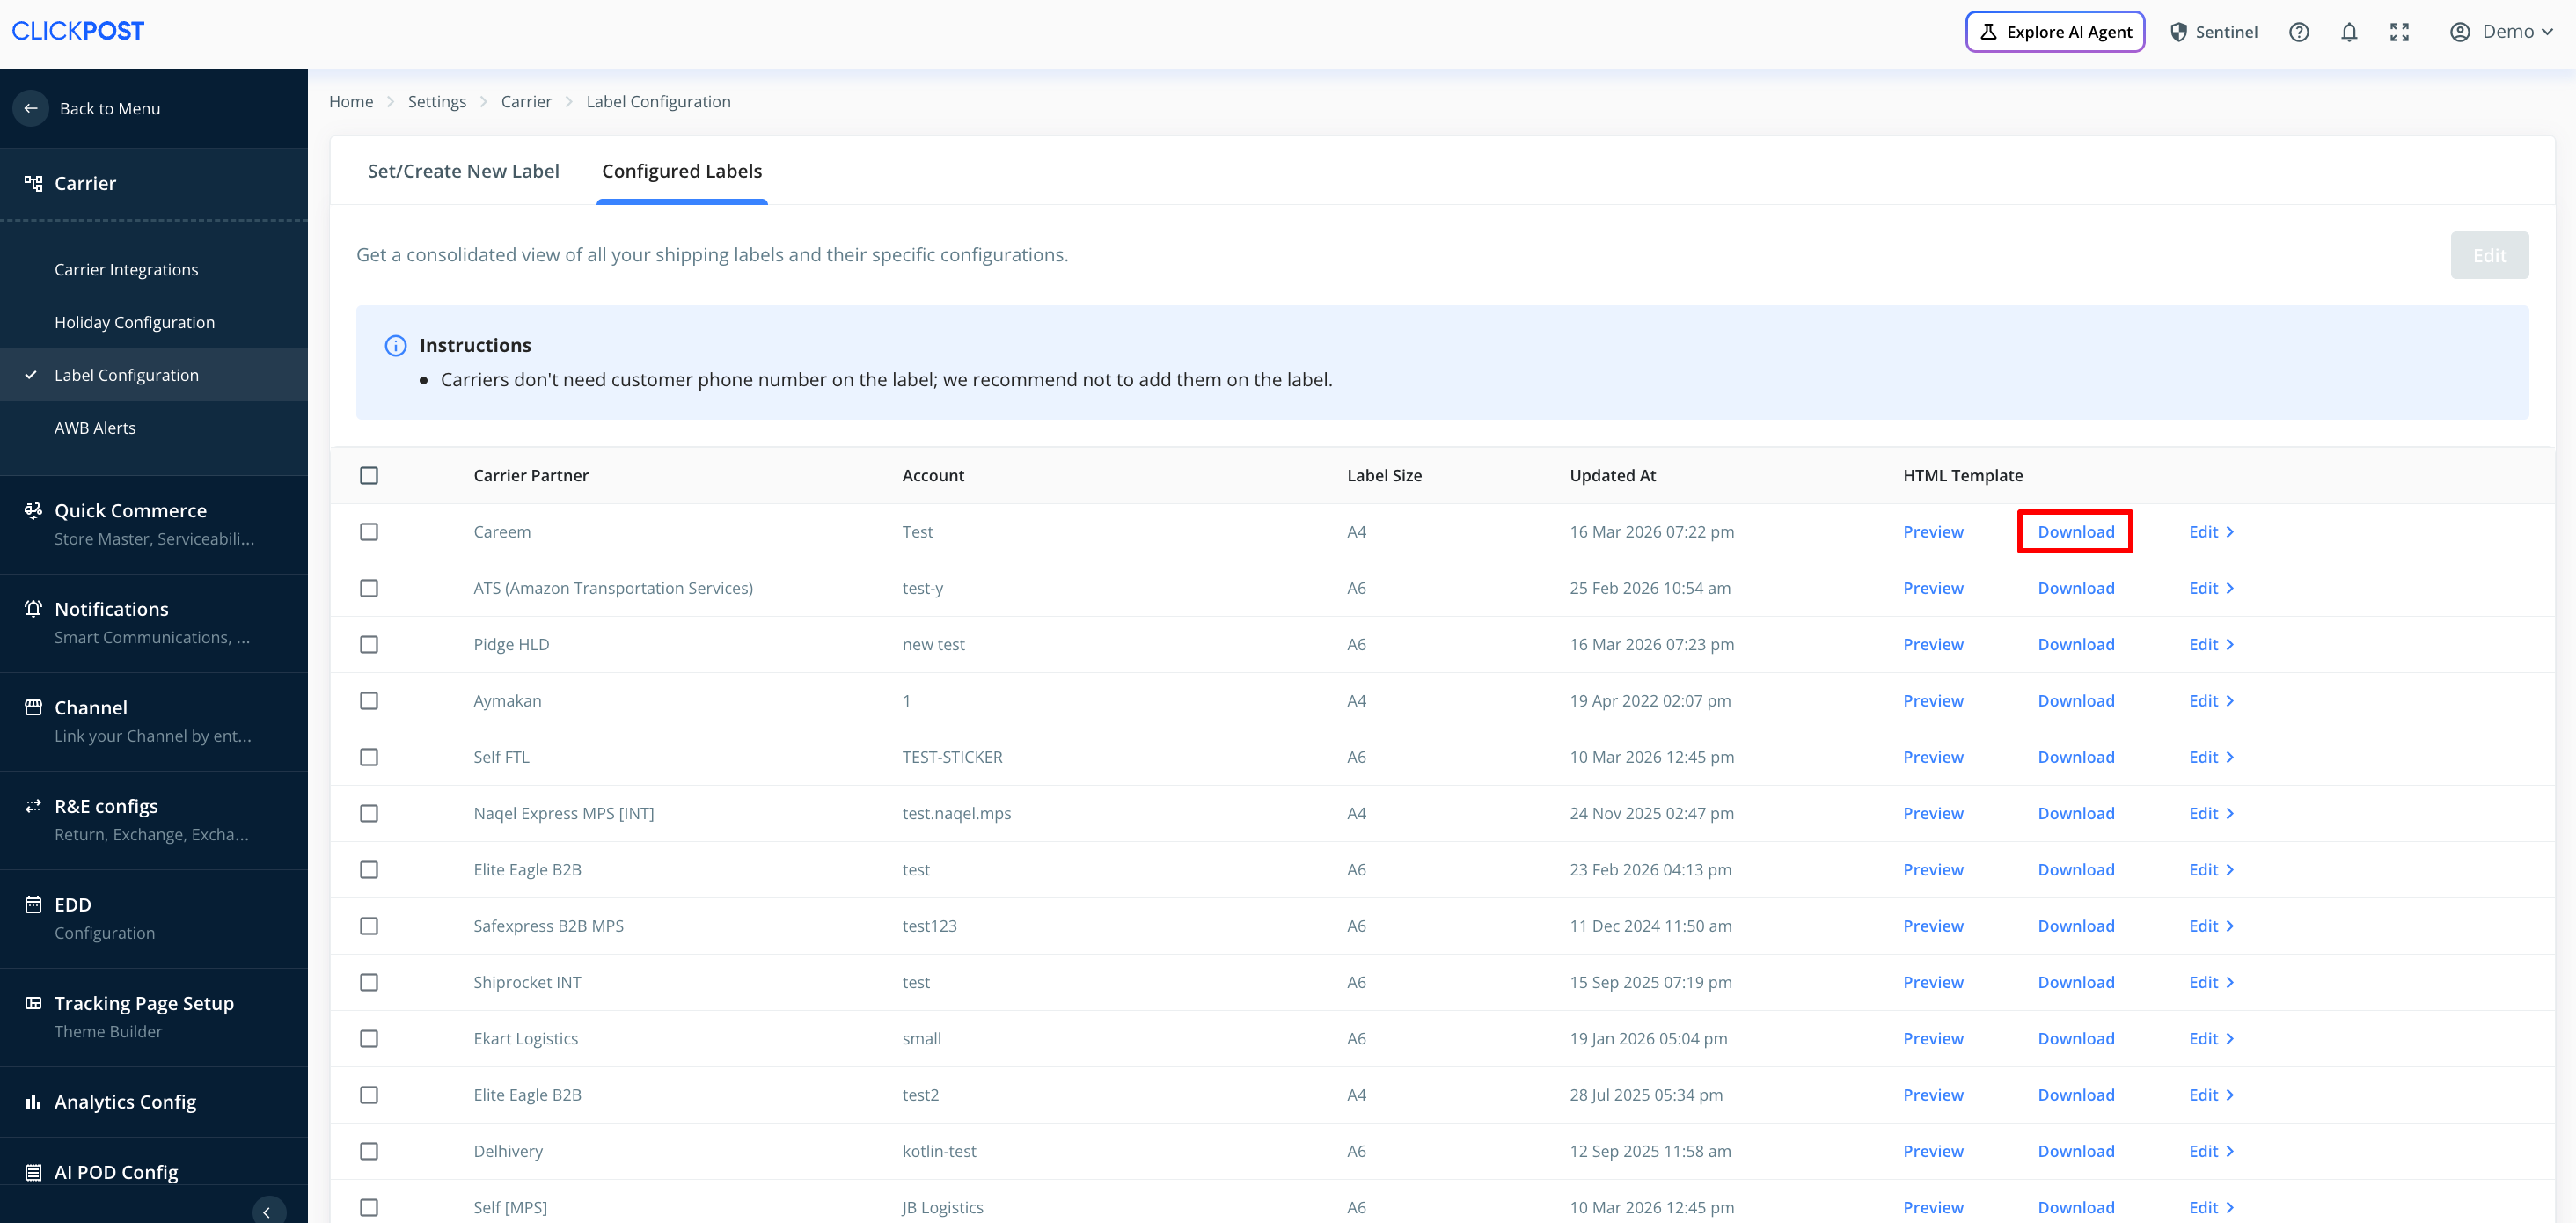
Step 3: Download the Existing Label Template
Navigate to: Menu → Settings → Carrier → Label Configuration
Go to the configured labels section
Download the existing HTML label template
Step 4: Edit the HTML Template
Open the downloaded label in an HTML editor/viewer
Navigate again to: Menu → Settings → Carrier → Label Configuration
Create or edit a label configuration
Search for the relevant UDF (User Defined Field) tags

Step 5: Insert UDF Tags into the Label
Identify the UDF field(s) you are passing in the payload
Copy the corresponding UDF tag
Paste the tag into the desired location within the HTML label template
Once configured, the values passed in the user_defined_field_array will automatically populate in the shipping label at the specified positions.
Was this article helpful?
That’s Great!
Thank you for your feedback
Sorry! We couldn't be helpful
Thank you for your feedback
Feedback sent
We appreciate your effort and will try to fix the article