We have a dedicated section on the ClickPost dashboard wherein Customers can add the return reasons that should be displayed on the tracking page
Please follow the below steps to do the same:-
ClickPost dashboard>> Settings>>Return configuration
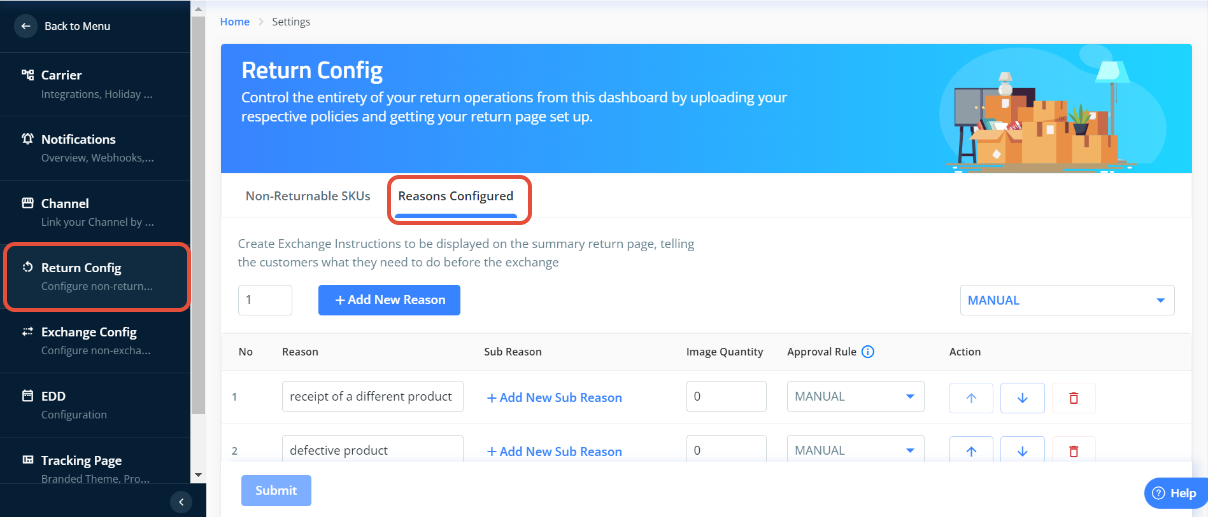
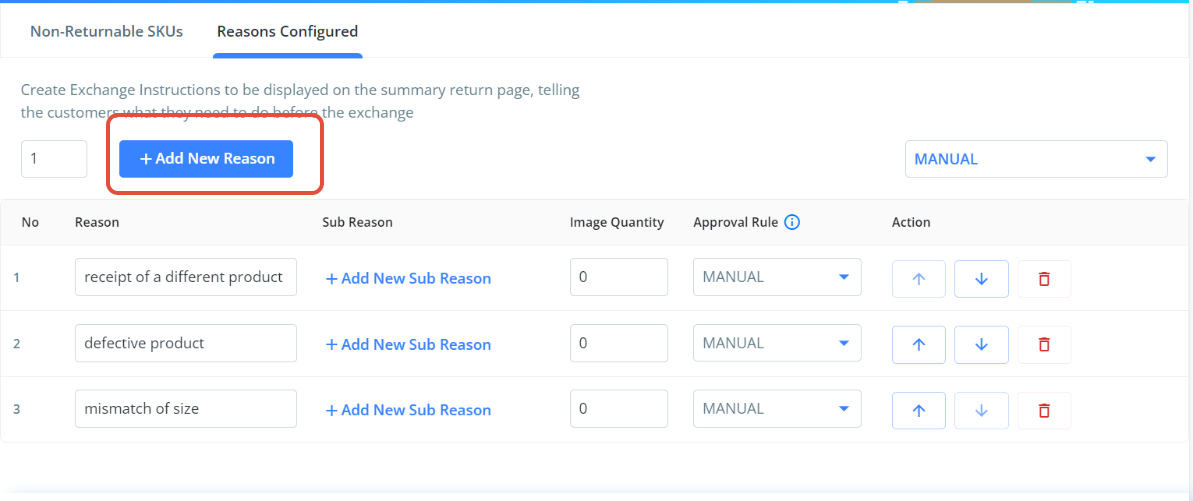
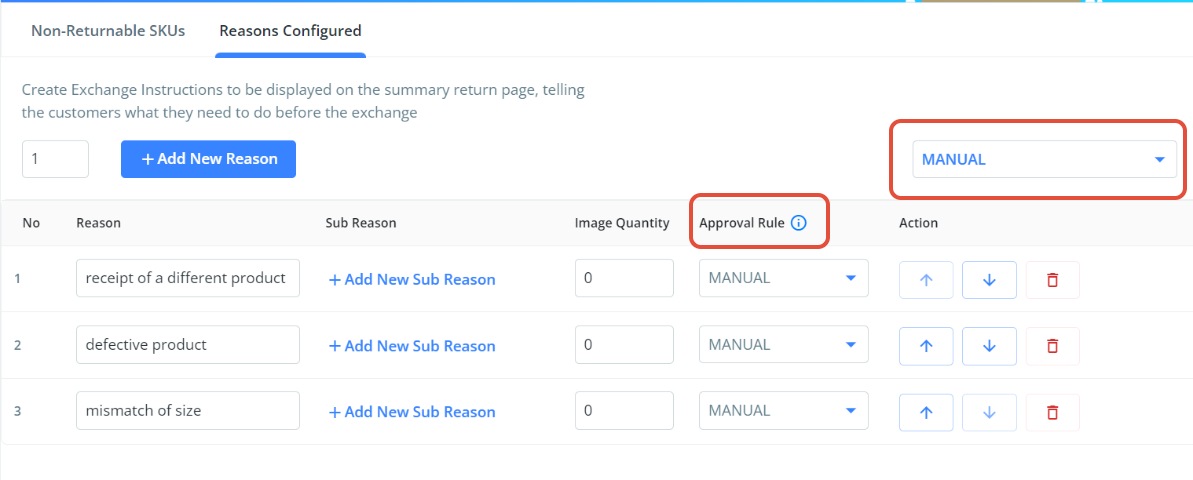
To include a new reason, simply choose the "+Add New Reason" option and enter the desired reason that you wish to display on the Return UI.
Sub-Reason Configuration: To configure the sub-reason, you have the option to select "+Add New Sub Reason." This will allow you to set up a sub-reason that corresponds to the main reason.
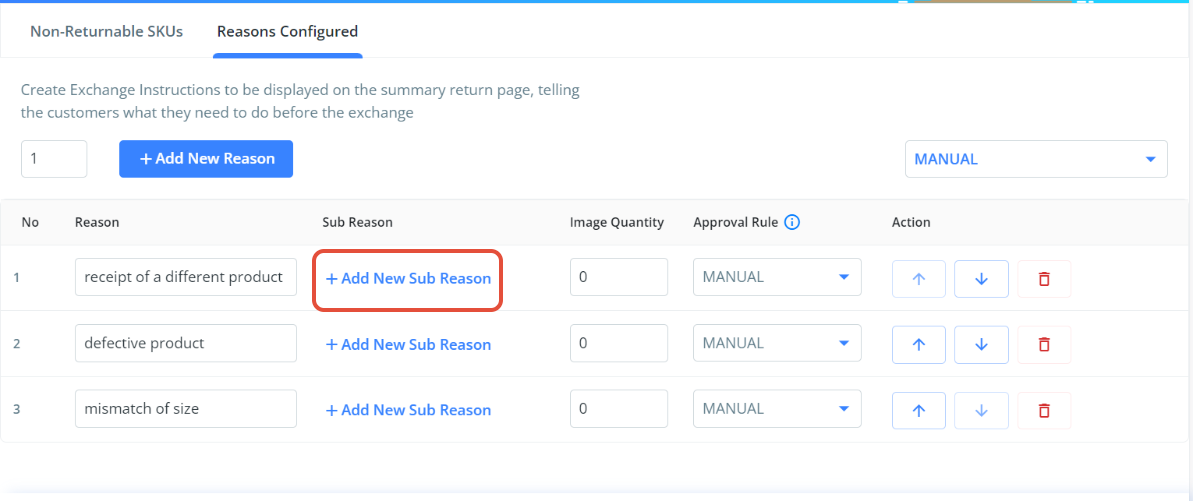
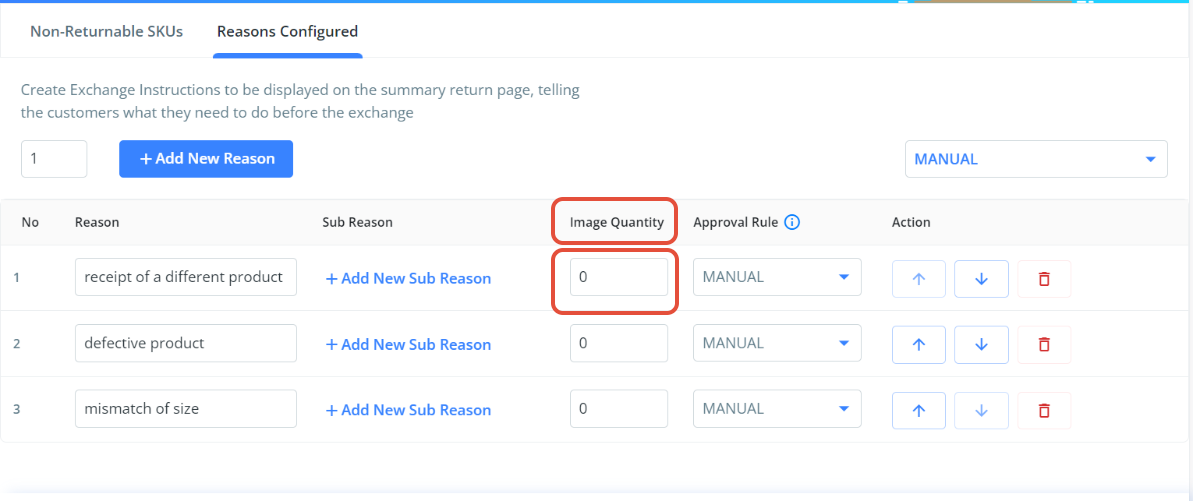
Image Quantity: Using this feature, you can configure the number of images and make it mandatory for the end customer to upload an image of the item when initiating a return request.
Approval Rule: Additionally, you have the option to establish the Approval Rule that corresponds to the reason you have configured. Providing a brief description of the reason below.
a) Auto Approve: When you opt for the "Auto Approve" approval rule, any return request associated with that reason will be automatically approved. After approval, a return AWB (Air Waybill) will be generated for further processing.
b) Manual: If you choose the "Manual" approval rule, the return request for the item will require manual approval from your ops team. Once approved, a return AWB will be generated for further processing.
c) Auto Reject: When you choose the "Auto Reject" approval rule, any return request associated with that reason will be automatically rejected.
Was this article helpful?
That’s Great!
Thank you for your feedback
Sorry! We couldn't be helpful
Thank you for your feedback
Feedback sent
We appreciate your effort and will try to fix the article