We have a dedicated section on the ClickPost-provided branded Tracking page where you can quickly configure the promotional banner. This will help to generate additional sales and engage with customers by adding an advertisement or promotional offer section.
Following is the screenshot of the default view when you visit the Promotional Banner Section.
https://dashboard.clickpost.ai/settings/tracking-page/banners

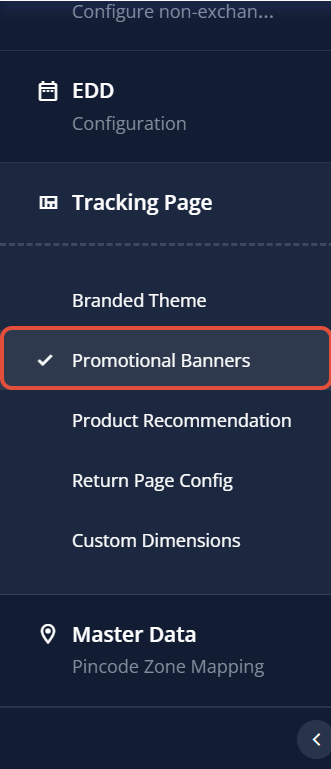
Promotional Banner: In order to access the promotional banner on the ClickPost dashboard, you need to follow the below steps.
ClickPost dashboard login>>Settings>>Tracking Page>>Promotional Banner


The promotional banner can be configured on the tracking page's right side as well as its top side. In order to configure the promotional banner we can follow the below provided steps.
Imperative: Please enable the Banner Ads toggle to enable prior configuring the promotional banner.

Right Banner: 600px X 450px & Top Banner: 900px X 210px (Width X Height)
b) Promotional Banner Configuration: Initially, the picture or image URL must be uploaded in order to configure the advertising banner on the tracking page. After the image/link has been uploaded, we must upload a link to which the end user will be forwarded after clicking on the promotional banner image.
Depending on where we want the promotional banner to appear on the tracking page either on the right or top, we may choose to position the image either to the right or at the top. After configuring all of these settings, we can click the submit button.
Please note the Title and Image Alt are non-mandatory fields. Sharing the description of the fields for reference below.
- Upload Image: In this section, you need to upload the image that you want to display on the tracking page.
- Paste Image URL: You can upload or paste the image URL in this section.
- Redirect URL: upload a link to which the end user will be forwarded/redirected after clicking on the promotional banner image.
- Title: It will help you to show the tile of the promotional banner.
- Image ALT: It appears in place of an image on a webpage if the image fails to load on a user's screen.
Sharing the snapshot below for reference.

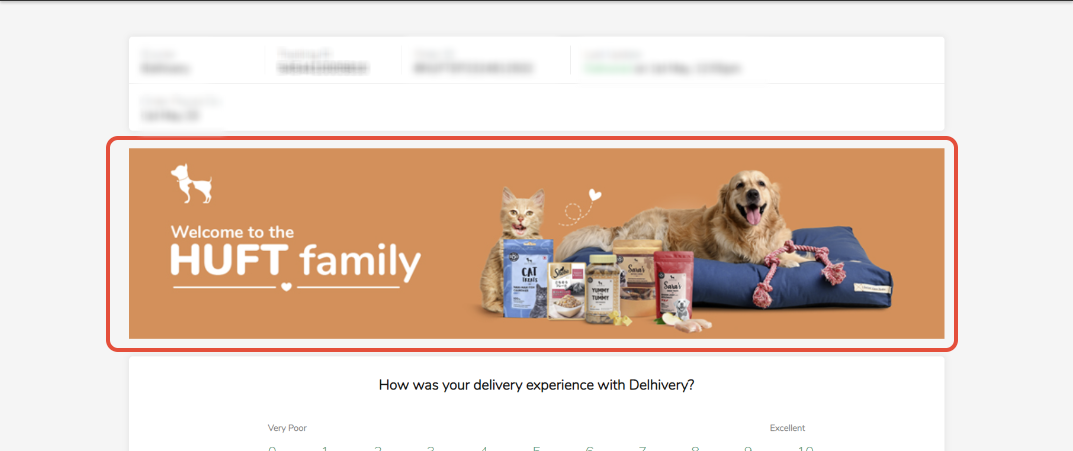
c) Post configuration of Promotional Banner: Any end user who visits the branded tracking page and enters the AWB number will be able to see the promotional banner/marketing tile displaying on the tracking page once the promotional banner has been configured on the ClickPost dashboard. Sharing a sample snapshot below for reference.

